
Two mallets can look similar on a shelf and produce very different results on a tone bar. One may help a phrase speak clearly; another may create an unsuitable attack or risk damaging the playing surface. This classroom percussion mallet guide begins with compatibility, then considers the sound and handling needed for the lesson.
For xylophone mallet selection, identify the exact instrument and its manufacturer guidance before choosing by color, price, or how impressive the head looks. The same principle applies to metallophone mallets and other classroom beaters.
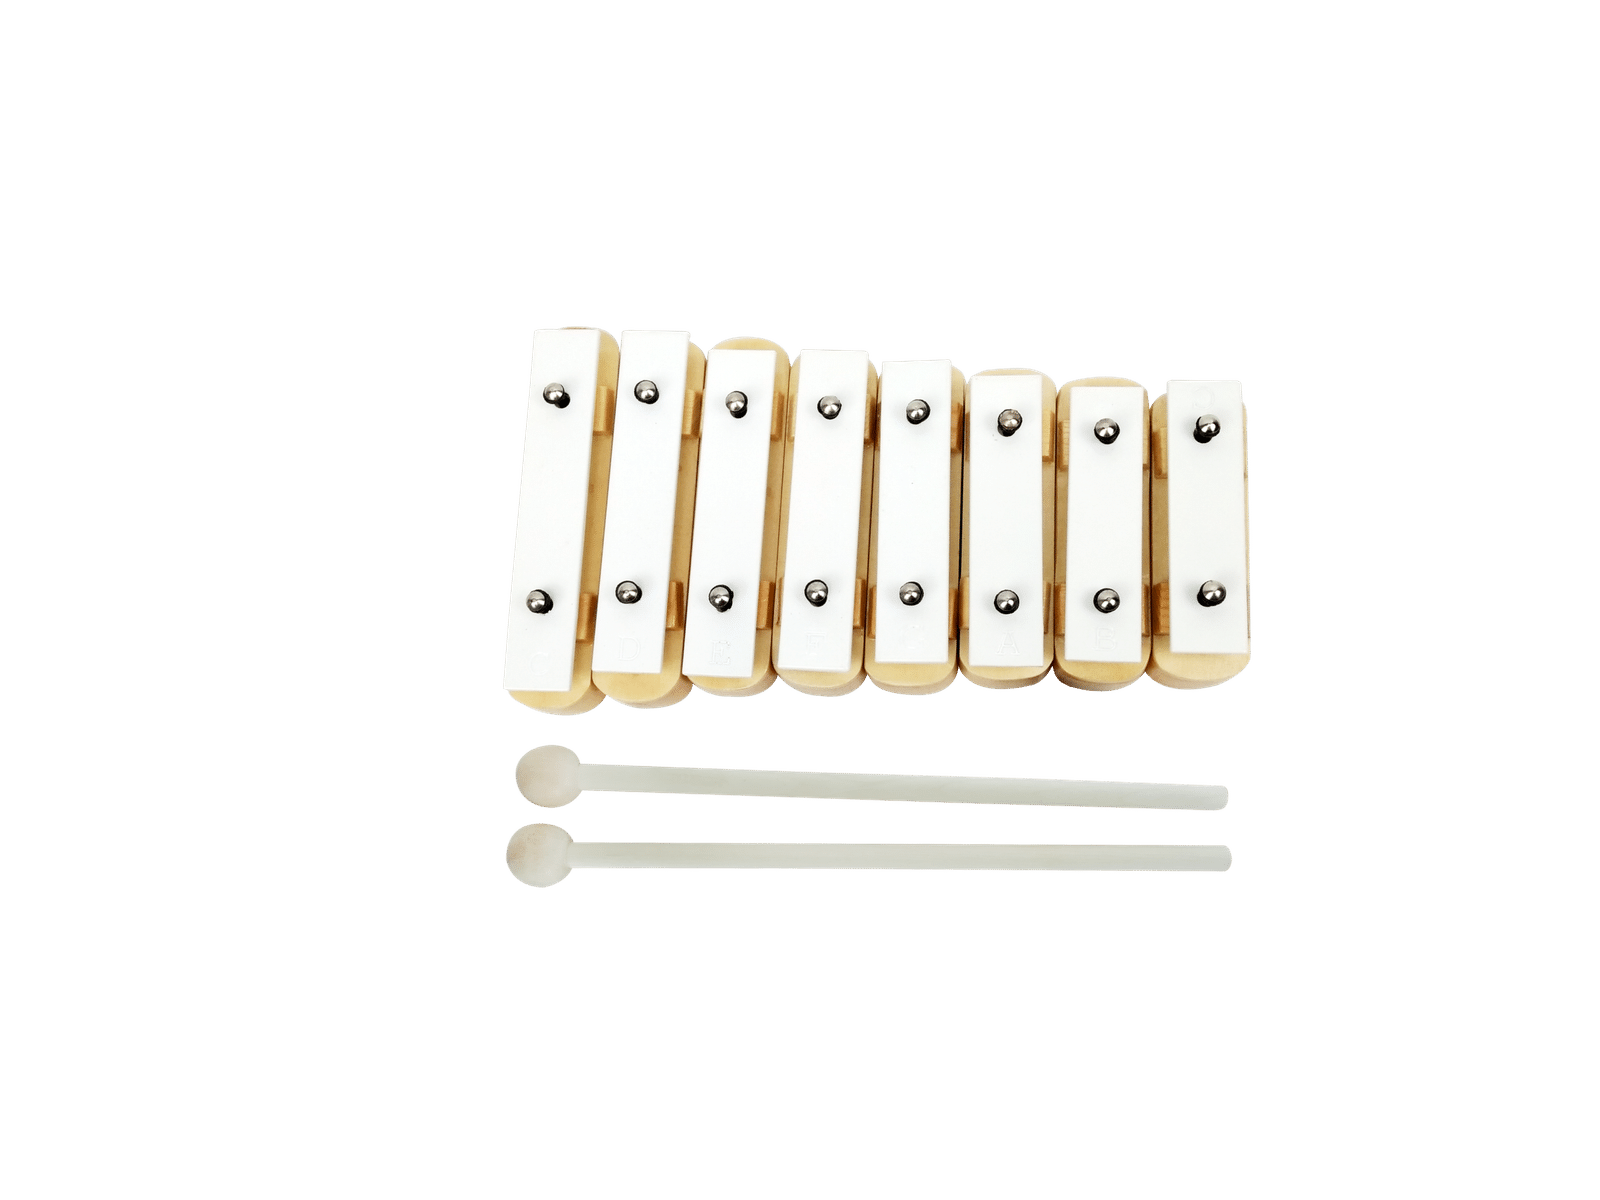
Classroom Percussion Mallet Guide: Identify the playing surface first
Check whether the bars are wooden, metal, or synthetic, and confirm the model. Instruments grouped together in a catalog may not share the same bar material or approved accessories.
When comparing xylophones and metallophones, use the actual specification rather than a product nickname. A casual description such as “metal xylophone” is not enough to establish the correct mallet.
Keep three questions together: what is the instrument, what does its maker permit, and what musical result are you seeking?
Understand soft vs hard mallets as a starting comparison
Mallets differ in head material, covering, core, weight, and shaft. Softer and harder heads can produce different attacks, but appearance alone does not establish their behavior or suitability.
For soft vs hard mallets, avoid a blanket rule that one is always better for children. The approved choice depends on the playing surface and instrument design. An overly hard or otherwise unsuitable mallet can harm a bar; a very soft choice may fail to articulate the intended passage.
Use only compatible candidates when testing Orff instrument mallets. A comparison should never begin by trying an unknown hard object on a classroom instrument.
Listen for the phrase you need
Once compatibility is confirmed, choose a short passage that resembles the lesson: perhaps four separate notes or a slow repeated pattern. Play it at a comfortable level with each approved candidate.
Listen from the audience position as well as the playing position. Does each note begin clearly? Can you hear the intended phrase without the attack becoming distracting?
When testing metallophone mallets, allow the sound to fade before the next comparison. Different amounts of lingering resonance can make two demonstrations hard to compare if the room never becomes quiet.
Check the player's control
Ask the intended player to hold the mallet naturally and make a few controlled strokes. Look at reach, balance, and whether the head can return from the bar without an exaggerated movement.
A classroom percussion mallet guide should account for the student, not only the sound. A candidate that sounds good in an adult demonstration may be awkward for a particular learner to handle.
Check Orff instrument mallets in the actual seated or standing setup. If a student must reach too far, fix the instrument position before assuming a new shaft length will solve the problem.
Keep the comparison simple enough to record
Use a short table rather than choosing from memory:
| Field | What to note |
|---|---|
| Instrument | Exact model and bar material |
| Candidate | Manufacturer or accessory reference |
| Compatibility | Where the approved match is confirmed |
| Musical test | The same short phrase for every candidate |
| Listening result | Attack, clarity, and balance in the room |
| Handling | Reach and control for the intended player |
| Decision | Accepted use and designated storage location |
This makes xylophone mallet selection easier to explain to another teacher. It also prevents a compatible tool chosen for one task from becoming the default for every instrument nearby.
Label the instrument relationship
Store the chosen pair in an identified location. A label can name the instrument or approved group, with a separate reference to the care record.
For metallophone mallets, do not assume a matching handle color proves that the heads are identical. Replace a missing item by its confirmed specification rather than by a visual approximation.
Orff instrument mallets should remain easy to find without being mixed into a general container of sticks, metal beaters, and unrelated accessories. Good storage protects the selection decision you have already made.
Reassess when the music or equipment changes
A new instrument, a different playing surface, or a replacement accessory can require another check. Keep the original model information with the classroom record so the comparison does not start from guesswork.
When discussing soft vs hard mallets with students, ask them to describe the sound they hear rather than rank the tools by strength. They can learn that choosing an appropriate tool is part of shaping a musical idea.
Compare Instruments and Included Accessories
Return to this classroom percussion mallet guide whenever a sound seems unexpectedly harsh, unclear, or difficult to control. Confirm the match, test a short phrase, and evaluate the player and room together before changing the equipment.